Check out the full tutorial video on sales orders here.
Navigate to Customers > Sales Order
Choose a customer using the customer search bar on the right
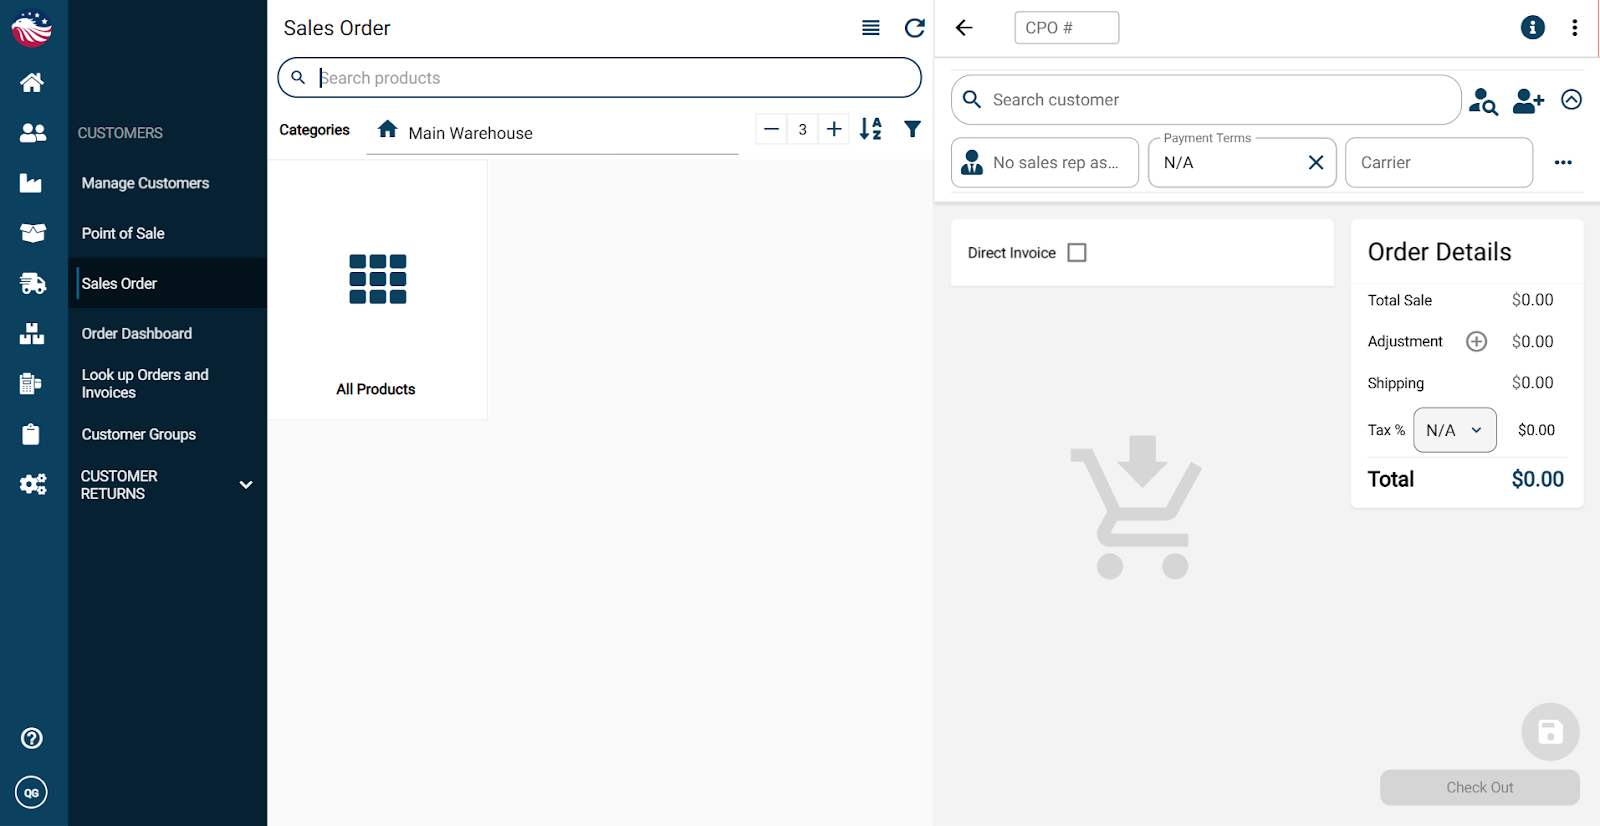
Add products using whichever method is easiest:
search by product name or SKU and press enter
browse categories and click products
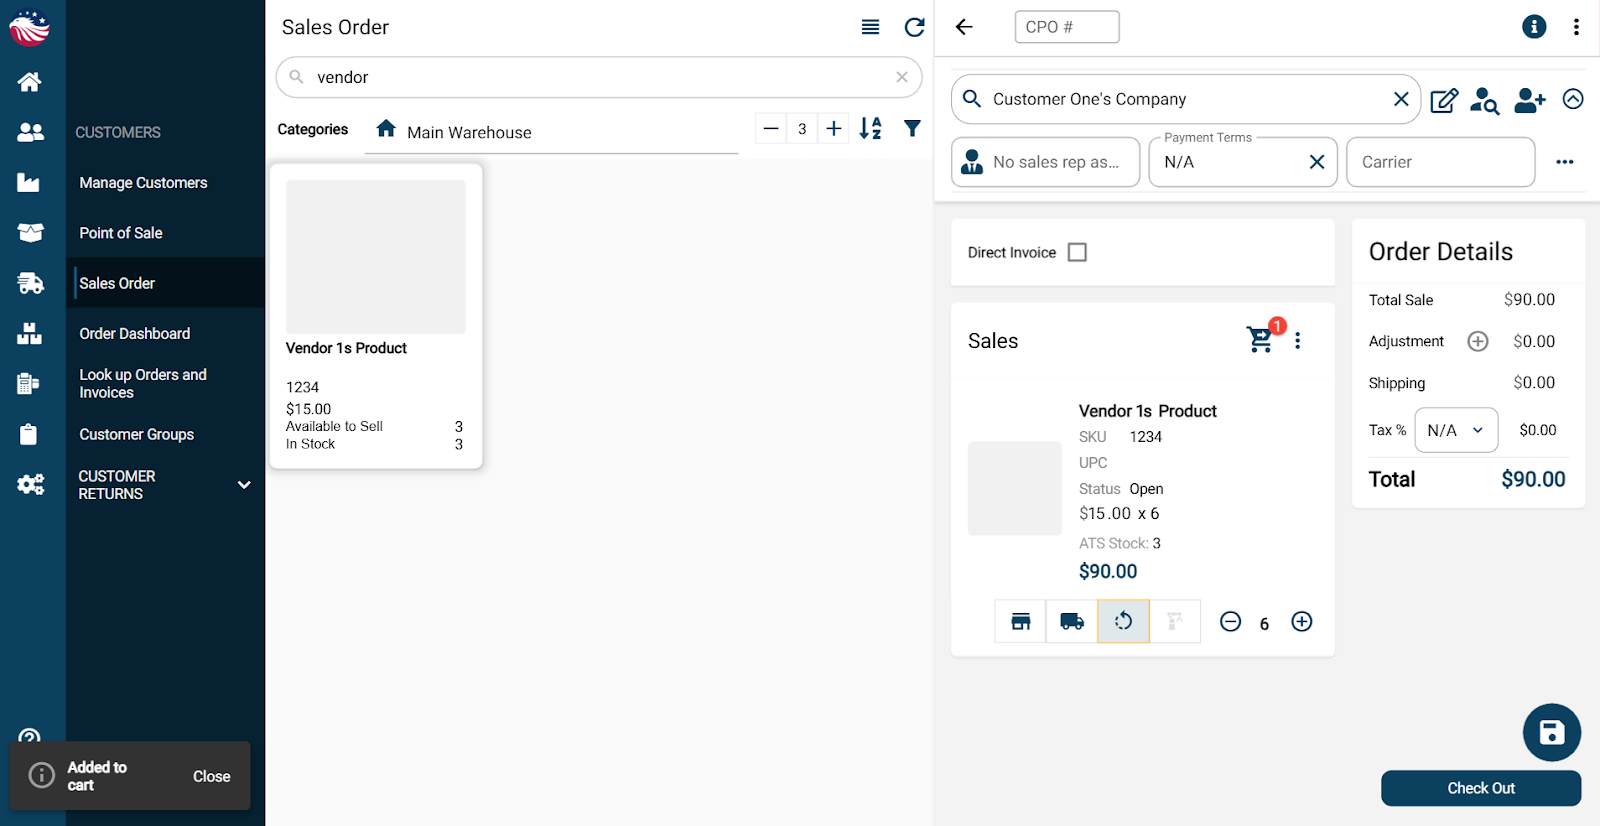
Increase quantity by clicking a product tile multiple times, or click the quantity and type the number
Important: Products should have a picking location assigned so your team knows where to grab them. If you need to set locations, see Adding a Picking Location help center article.
Click Checkout, then Collect Payment
If you have saved payment methods, select one. Otherwise choose On Account (you can set up payment methods later in Company Settings)
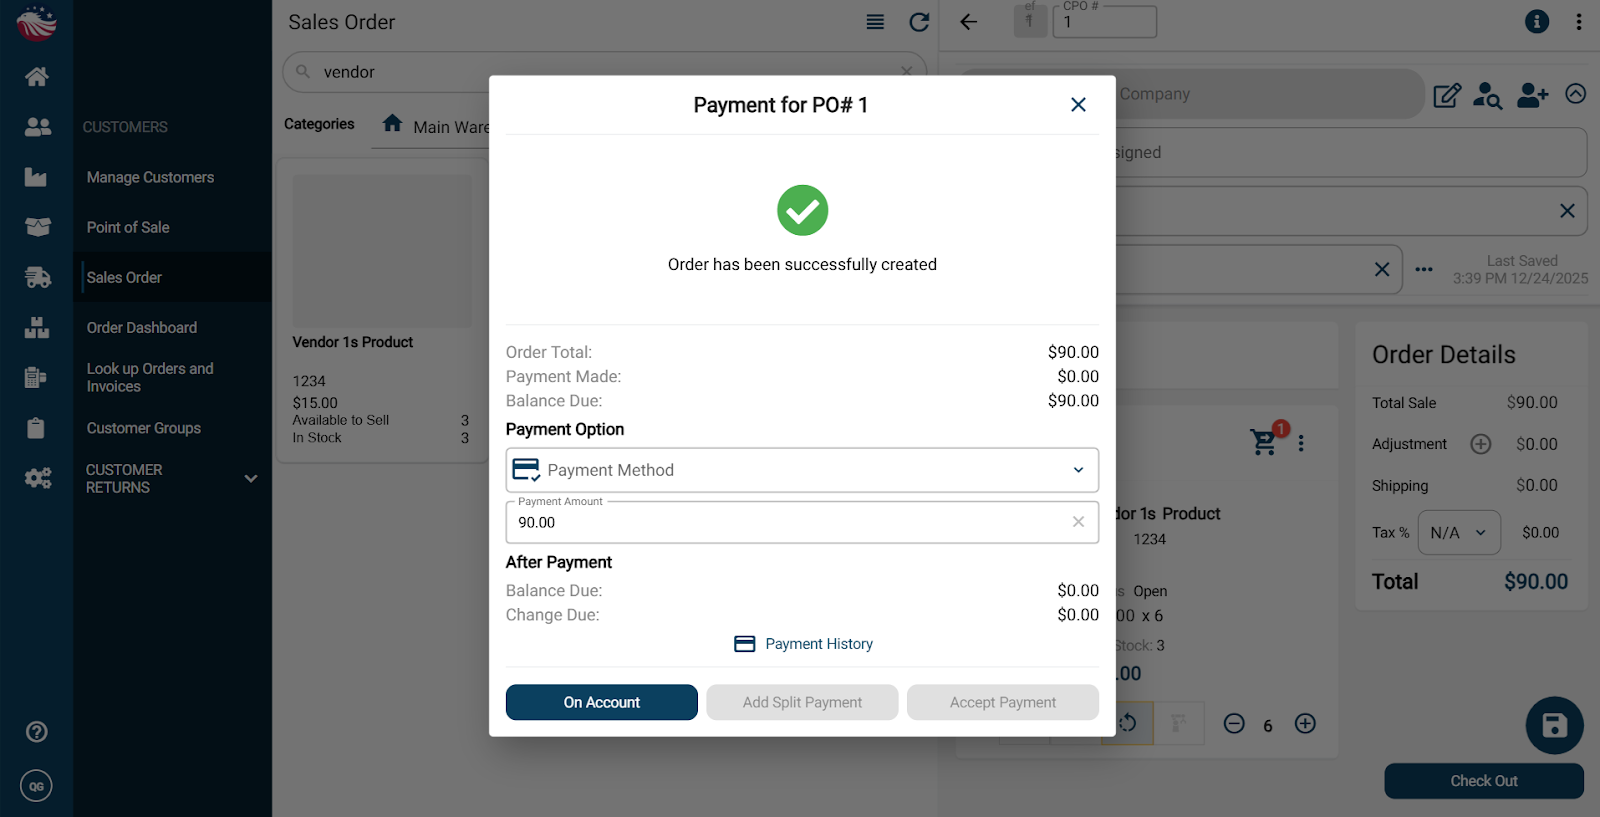
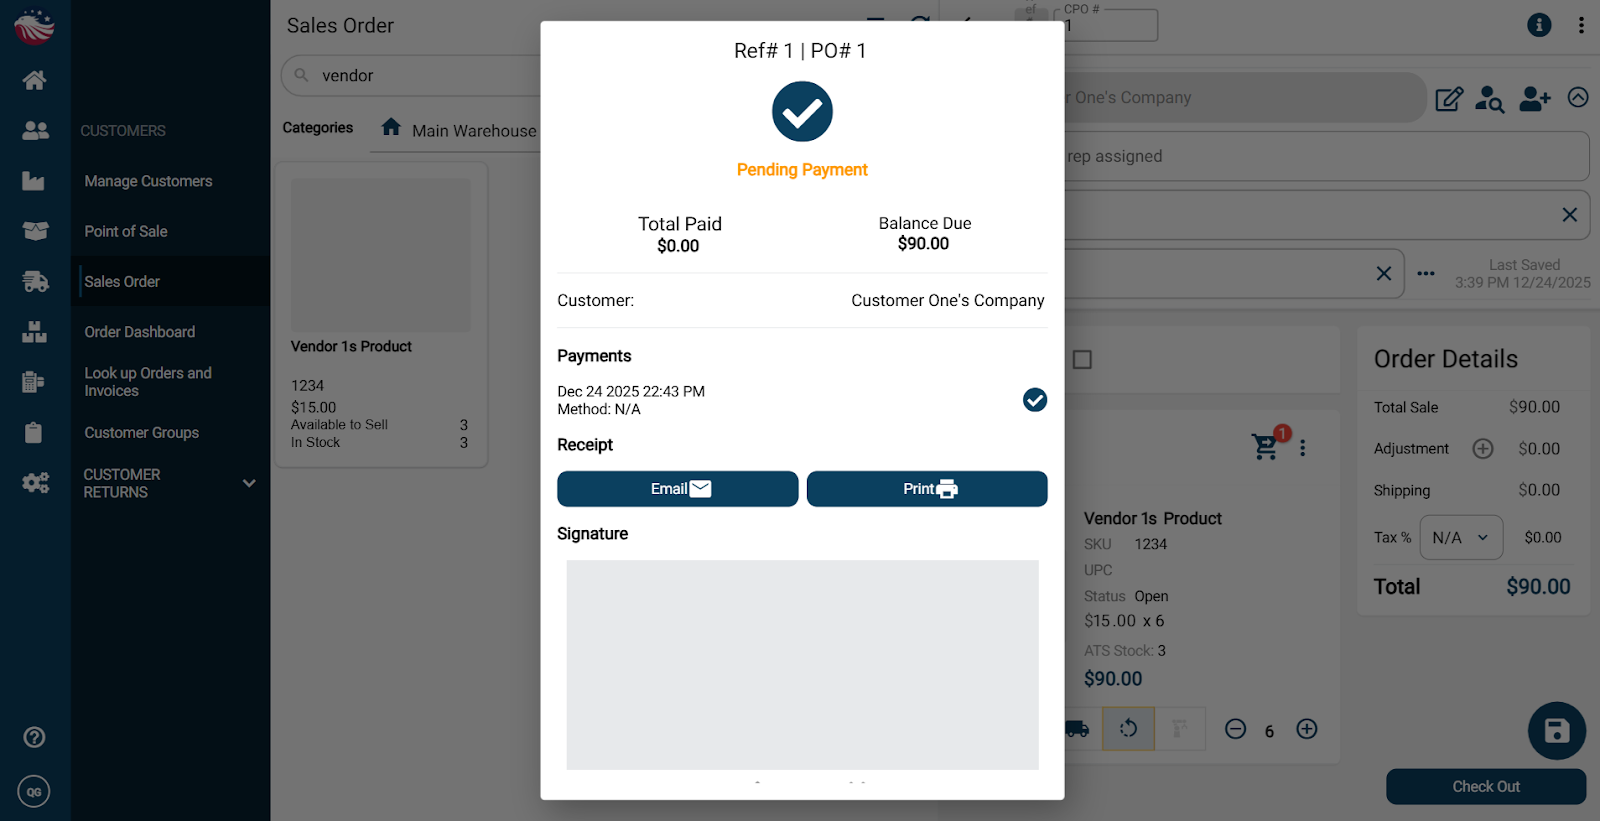
Once you select On Account, the invoice is processed. From here you can email it, print it, and even collect a signature.
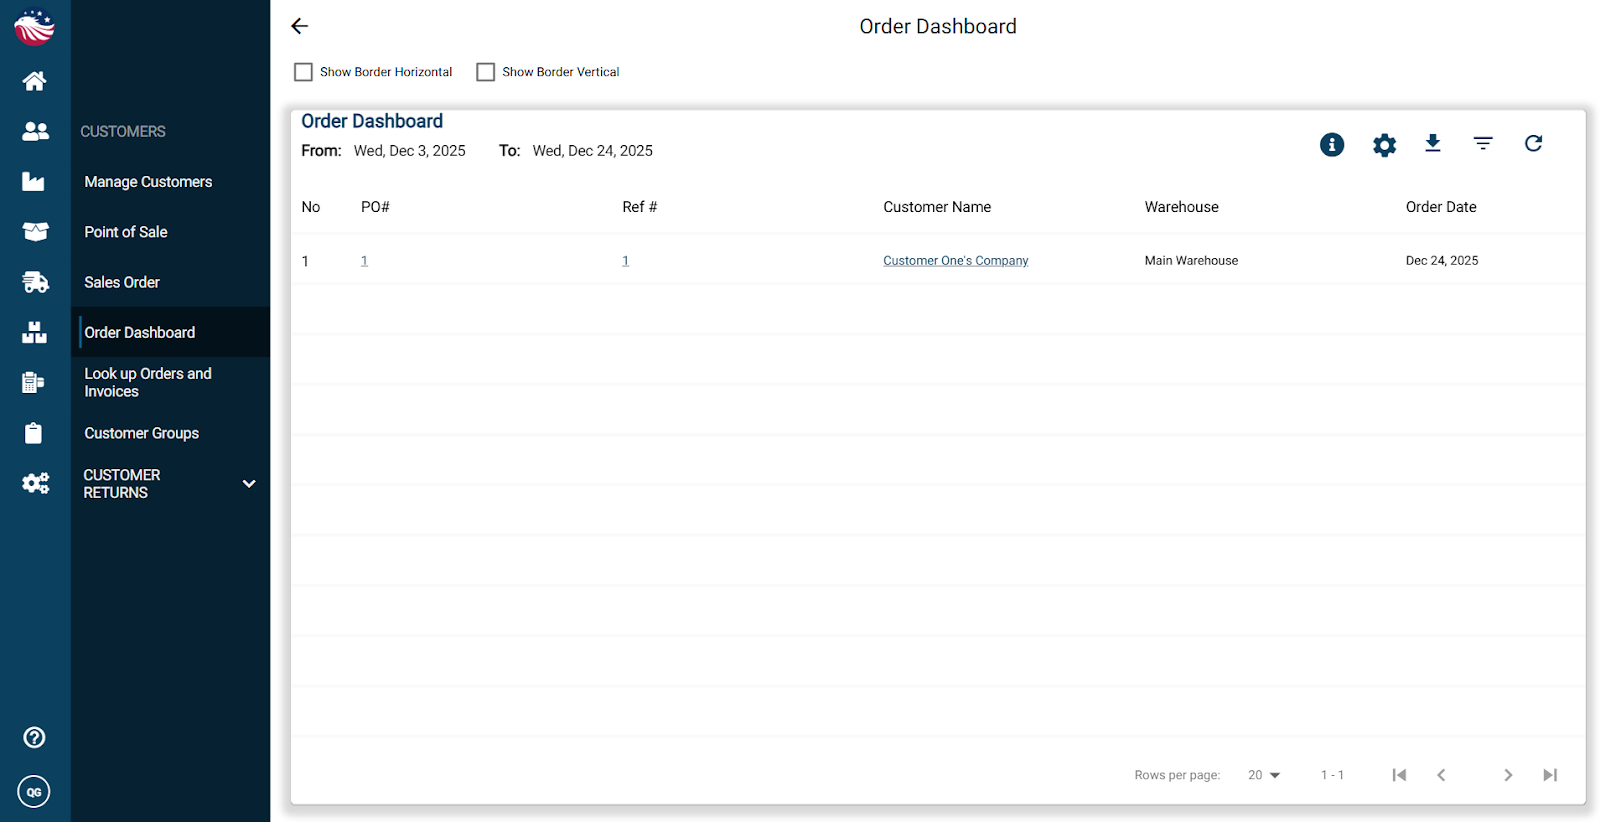
Finally, navigate to Customers > Order Dashboard to see your order. You can scroll right to see more columns, and customize the columns using the gear icon.