Check out the full tutorial video here.
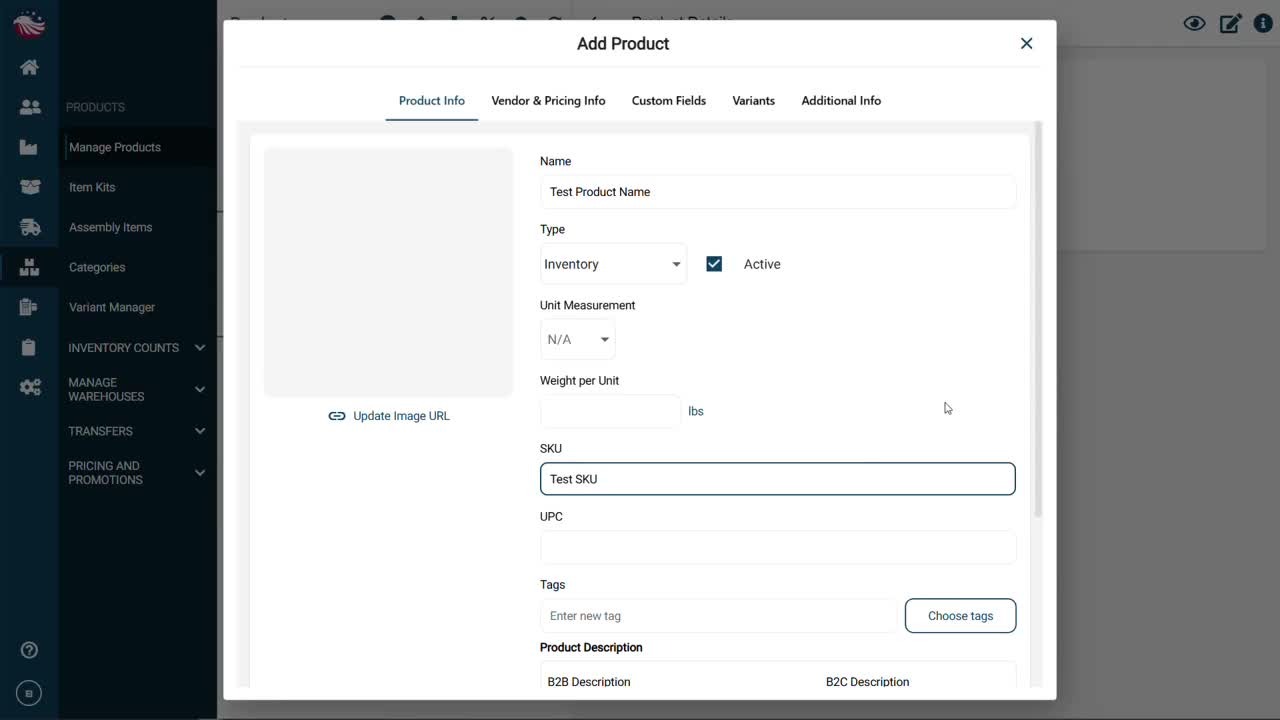
Go to Products > Manage Products
Click the plus icon to add a new product
Enter the basics (you can even add a product photo), then click Save and Next
Next, set your vendor and pricing:
If you already have vendors in Eagle, assign one now.
If not, skip it for the moment. You can attach vendors later when we’re creating new vendors.
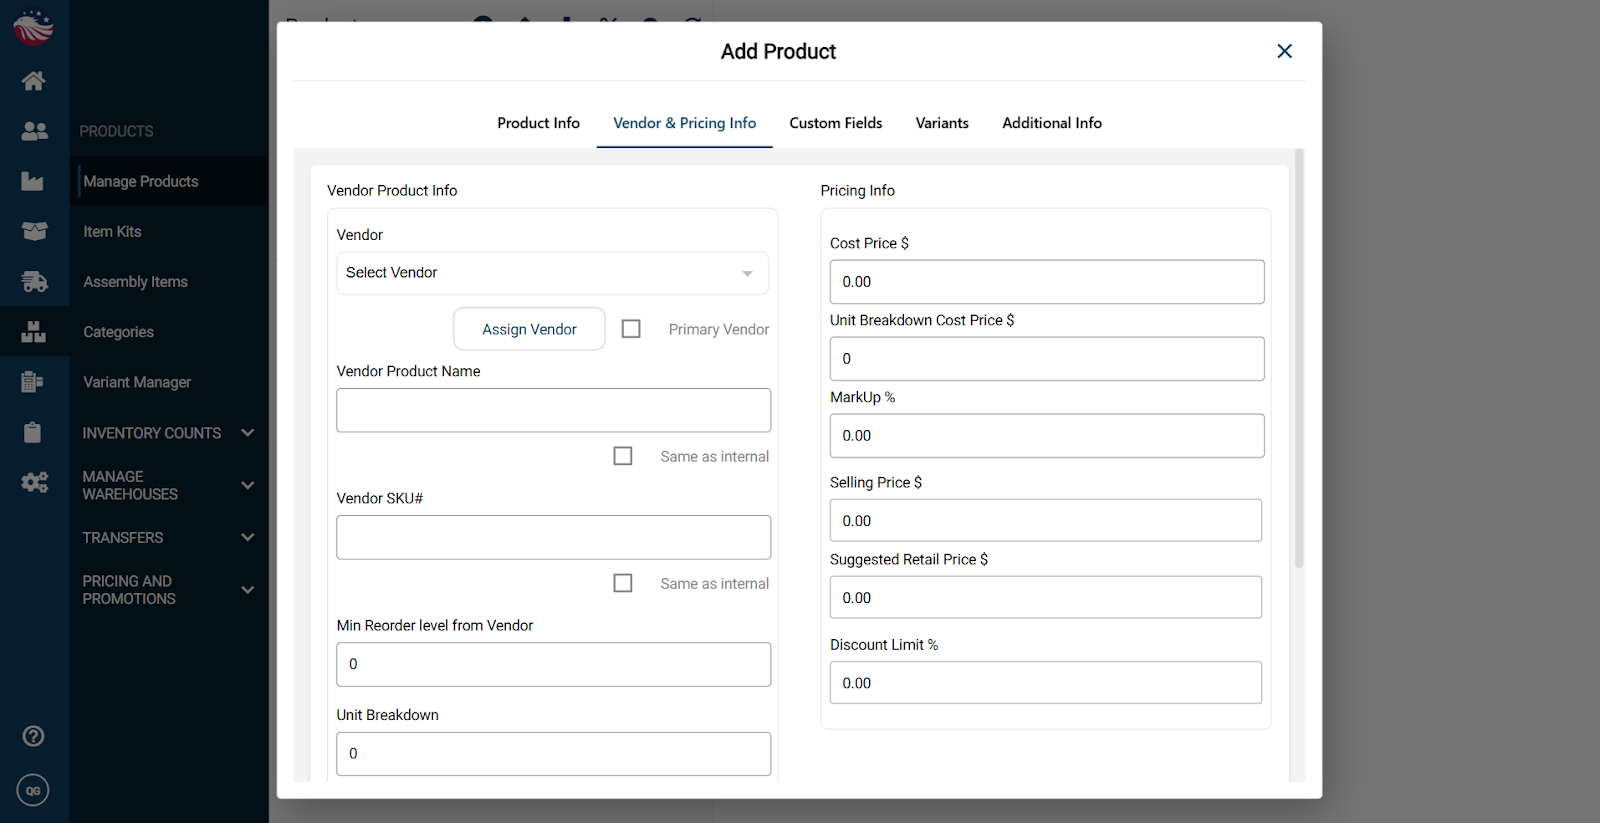
You’ll notice optional fields like variants and custom fields. If you’re just getting started, feel free to keep it simple and come back later.
Click on Additional Info to add in more detailed information, for example if you want an alert when a product goes below a certain quantity, set it here.

Scroll down and click Save followed by Close.
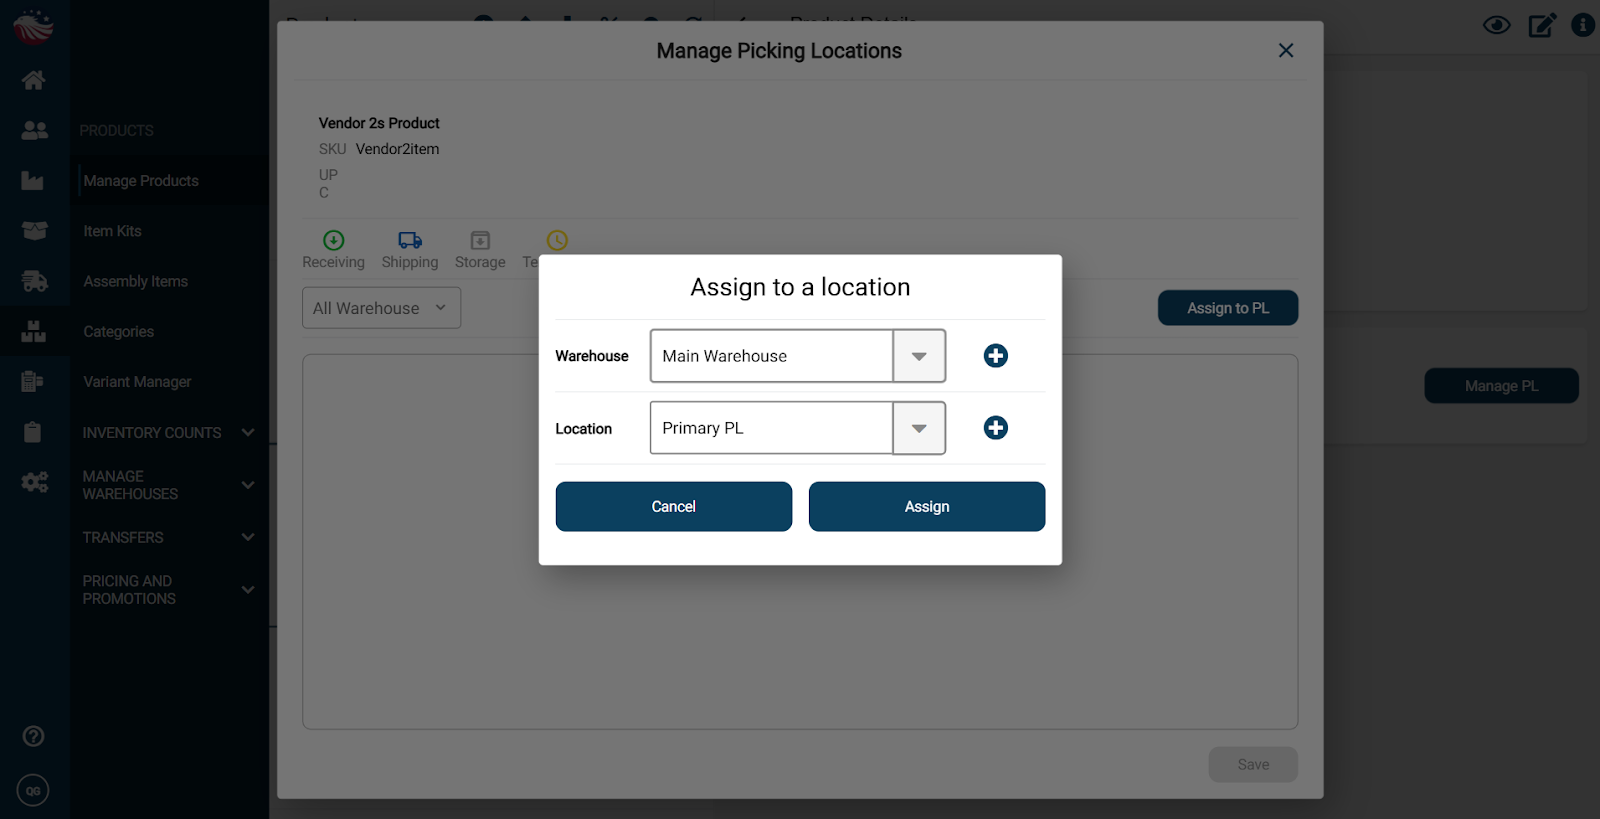
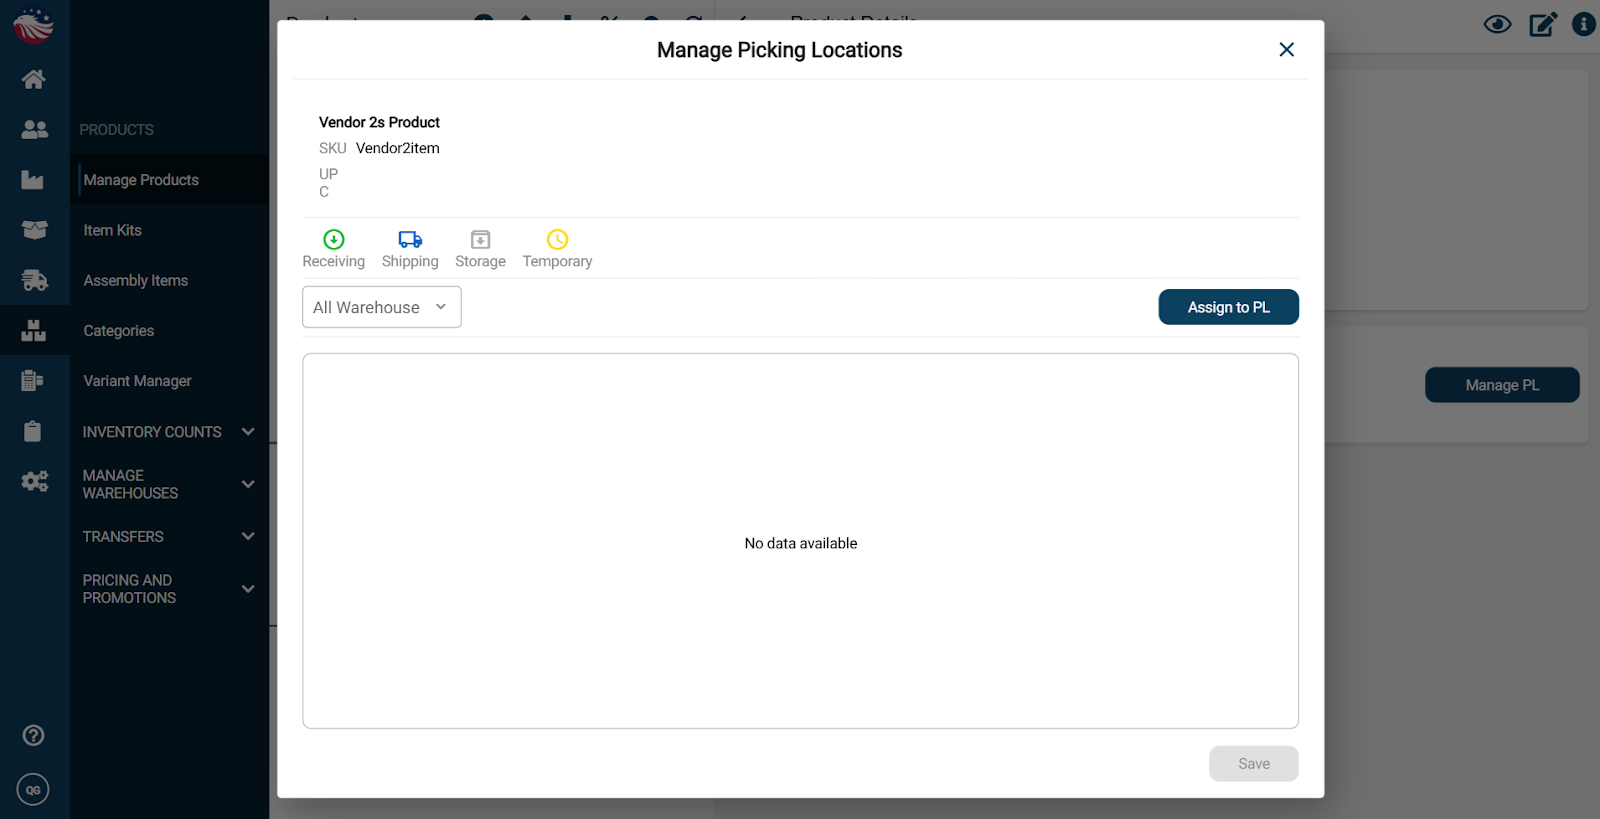
Let’s add a picking location to this product. Click Manage PL to assign a picking location.
Definition: A picking location is the exact spot an item lives in your warehouse (like an aisle, shelf, or bin), so your team can find it quickly.
For now, selecting Main Warehouse and Primary PL is perfect. You can build your real warehouse layout using the help center articles about Warehouse and Picking Location creation.
Click Assign, then Save, then close the window.