Go to Products > Manage Products and select a product and click the Pencil icon.
Click the Vendor & Pricing Info tab and scroll down and hit Manage Advanced UOM.
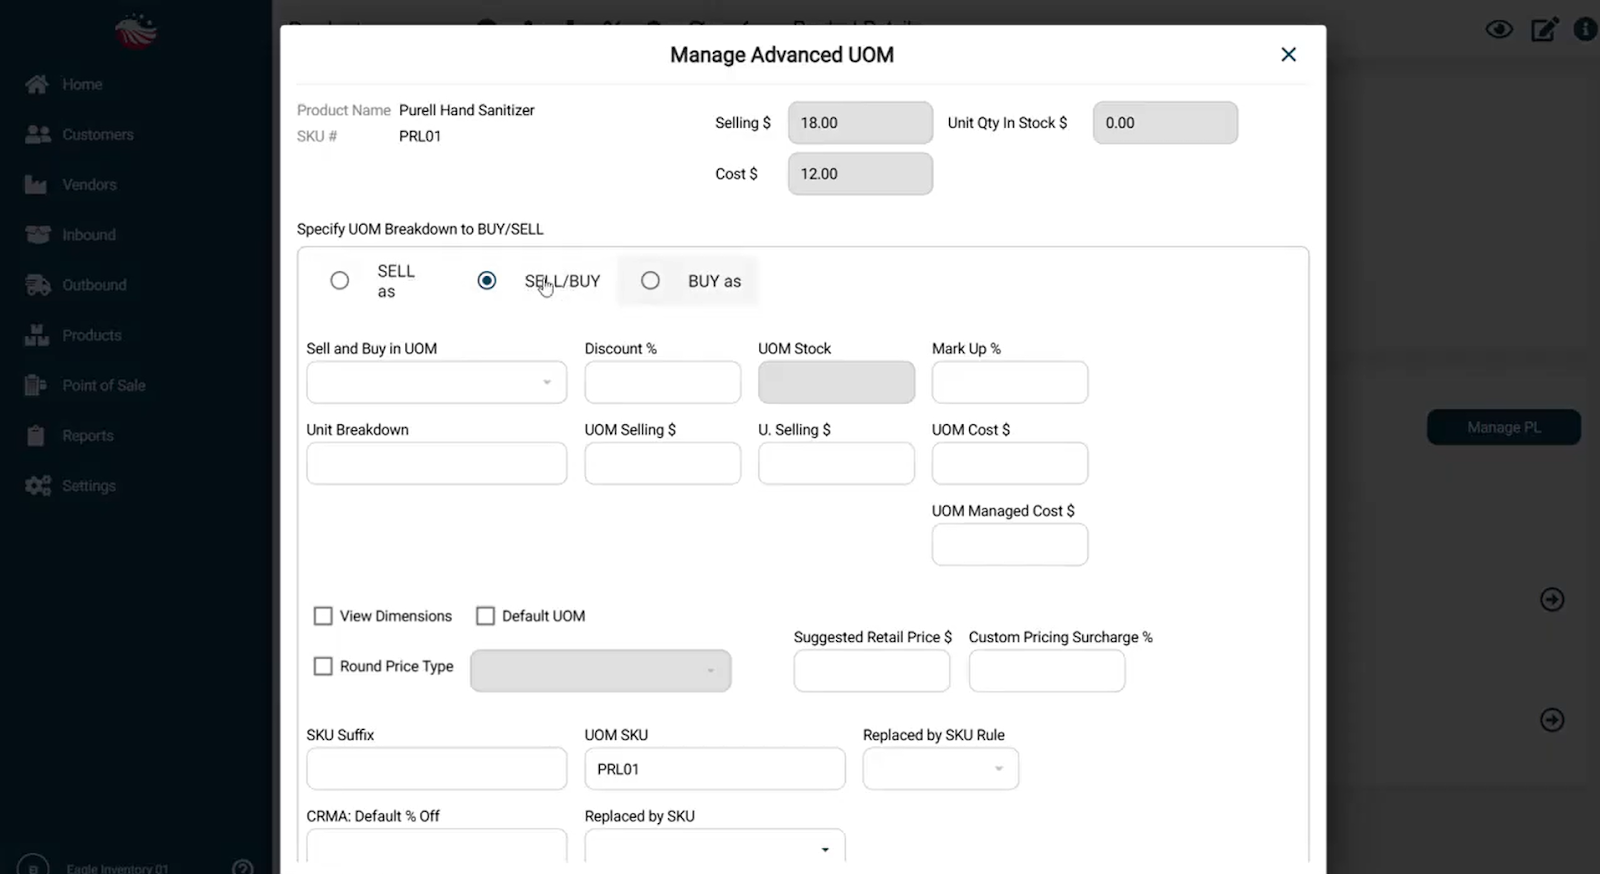
Specify Breakdown Type: Use the radio buttons to choose your strategy:
SELL as: You only sell this unit (e.g., a special promo box).
SELL/BUY: You buy and sell this unit (e.g., you buy box and sell full boxes).
BUY as: You only buy this unit (e.g., a pallet) but break it down immediately.
Fill in the Key Fields:
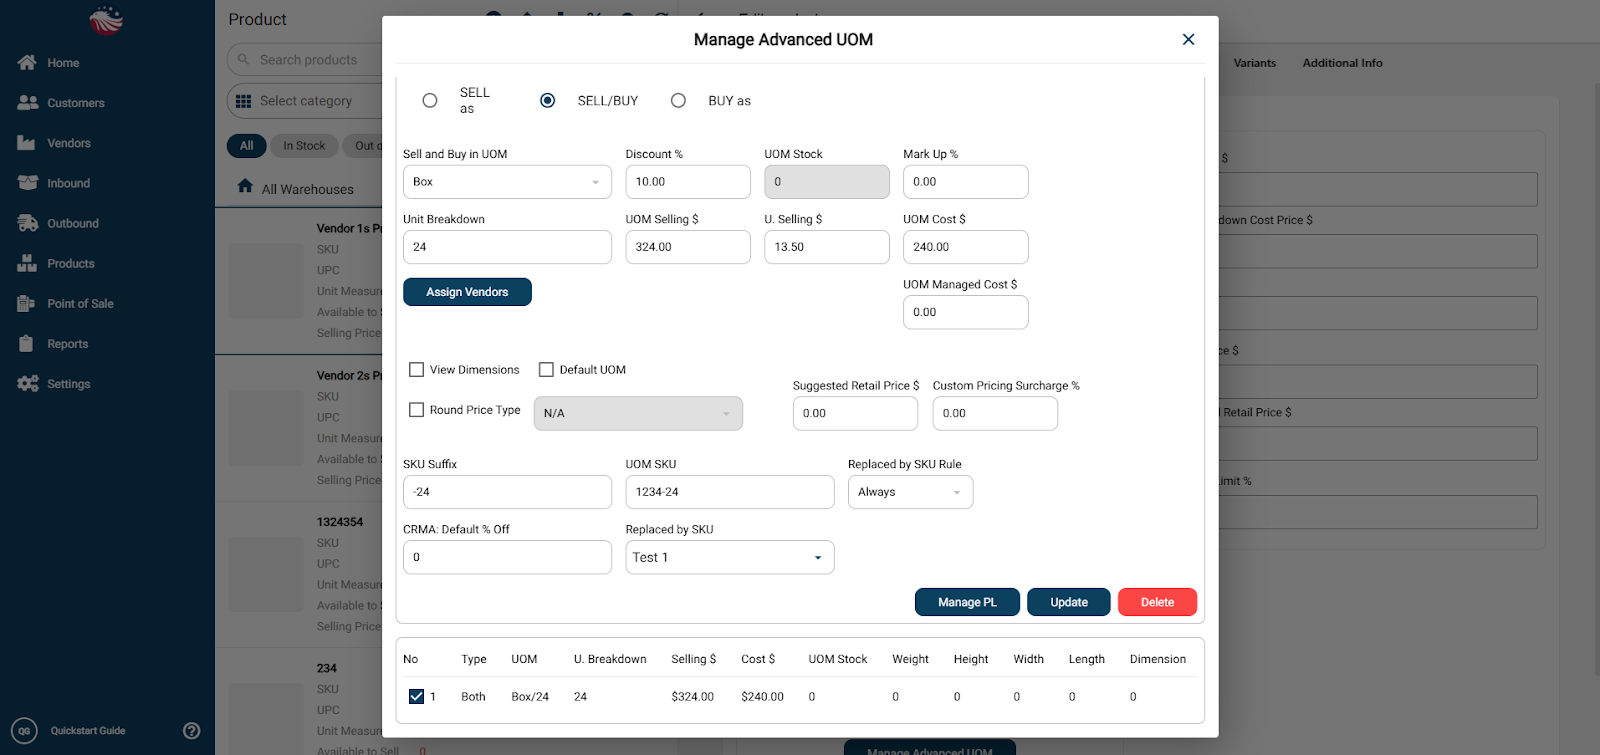
Sell and Buy in UOM: Select the unit type from the dropdown (e.g. Box).
Unit Breakdown: Enter the quantity inside the pack (e.g., write 24 for a box of 24).
Discount %: Add a percentage here (e.g., 10) if you want to give a bulk discount automatically.
Mark Up %: Set a markup percentage for this specific unit, if the vendor charges more for buying in this unit of measurement
UOM Selling $ / Cost $: Verify the calculated prices for the full box, or enter in a specific price manually
Define Identifiers:
SKU Suffix: Enter a unique tag (e.g., 24 or -CS) so the system creates a unique SKU (like 1234-CS).
UOM SKU: You can also manually define the full SKU here if needed.
Replaced by SKU Rule: Check this box if you want this sku to show:
None of the time
Always
Only when its Out of Stock
Finish Up:
Review other optional fields like Custom Pricing Surcharge %, Replaced by SKU rules, Default UOM, or more if needed.
Click the Add button at the bottom right.
Critical Final Step: You must Assign this new UOM to a warehouse location.
After clicking Add, find the new UOM line in the list.
Check the box next to it and hit Manage PL.
Select your Warehouse and Location (e.g., Location A).
Hit Save.