Before you invite people, you need to define what they are allowed to do.
Go to Settings > Manage Roles.
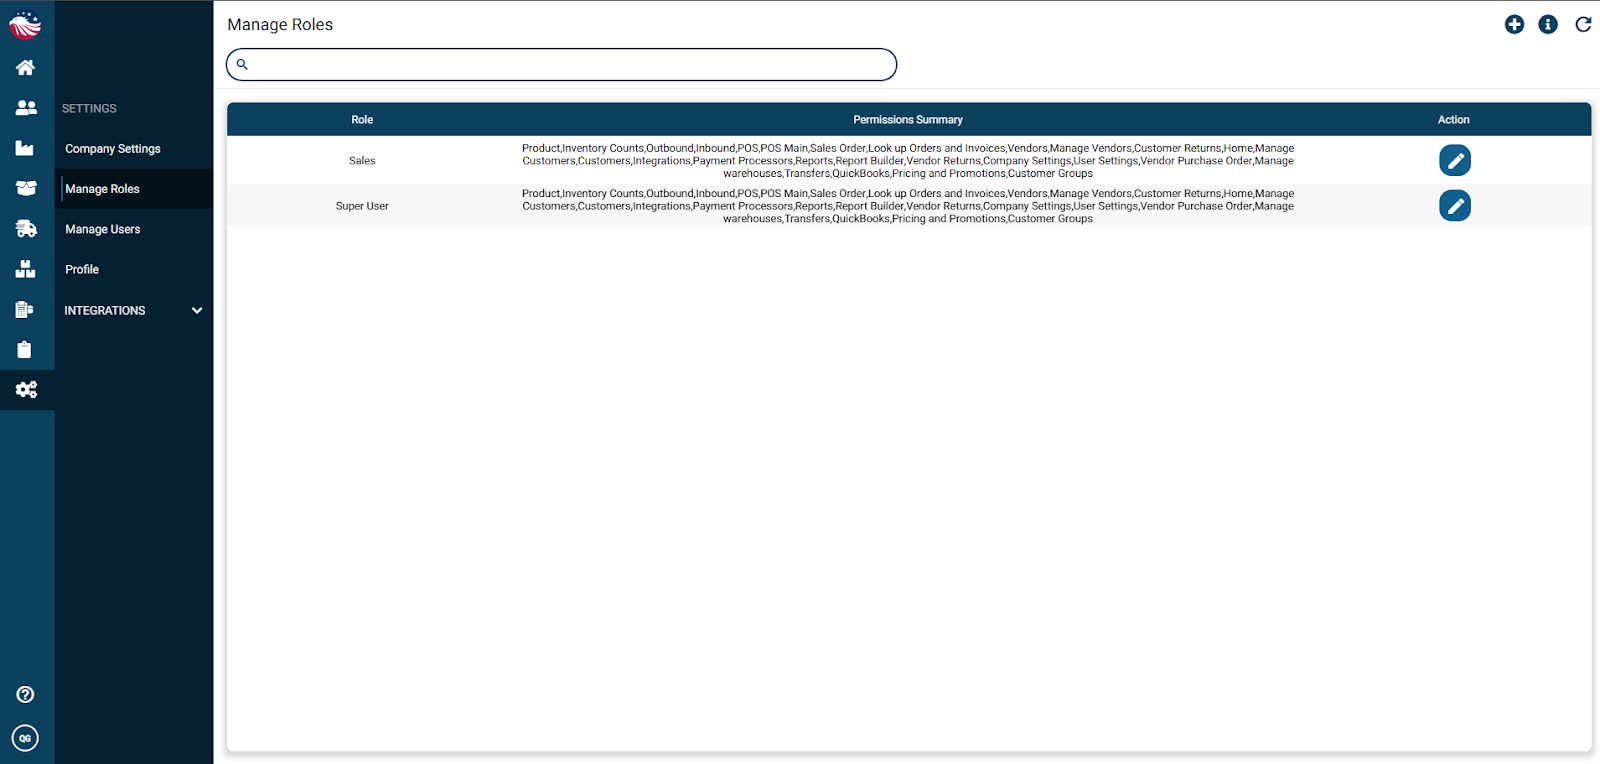
Click the (+) Plus Icon to add a new role.
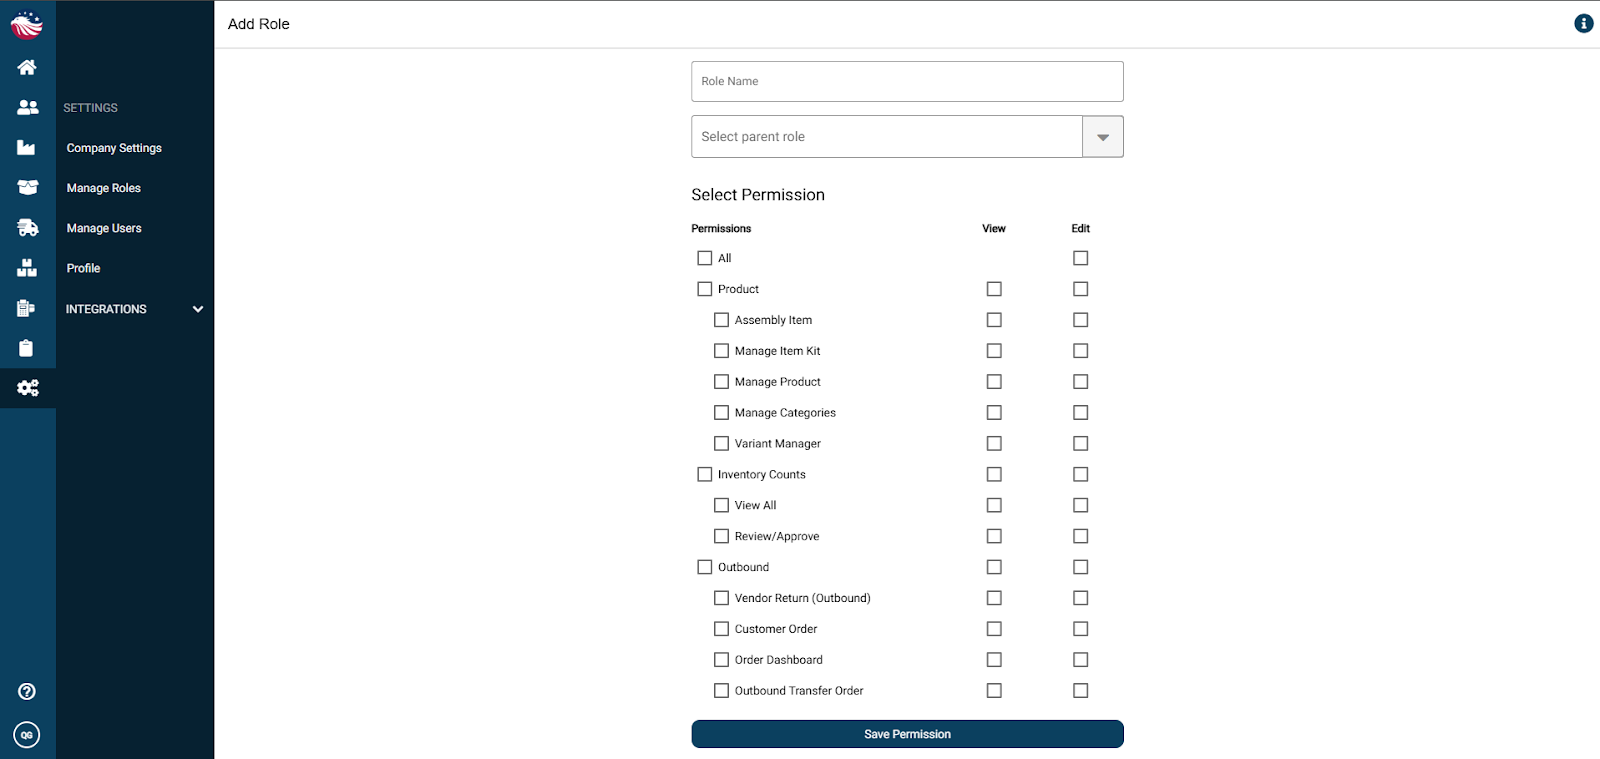
Name the Role: Give it a clear title (e.g., "Warehouse Staff," "Sales Manager").
Select Permissions: Check the boxes for the features they need.
Pro Tip: You can check a Main Header to grant access to a whole section, or click the sub-headers to get specific.
Example: You might want to give a user Edit Access to everything, but Uncheck "Inventory Counts" so they can't adjust stock levels.
Click Save Permission.
Bird’s Eye View: Why create roles? Security isn't just about hackers; it's about accidents! By creating a "Sales Only" role, you ensure a salesperson can't accidentally delete a Purchase Order or mess up your Tax Settings.